
Last updated November 4, 2026
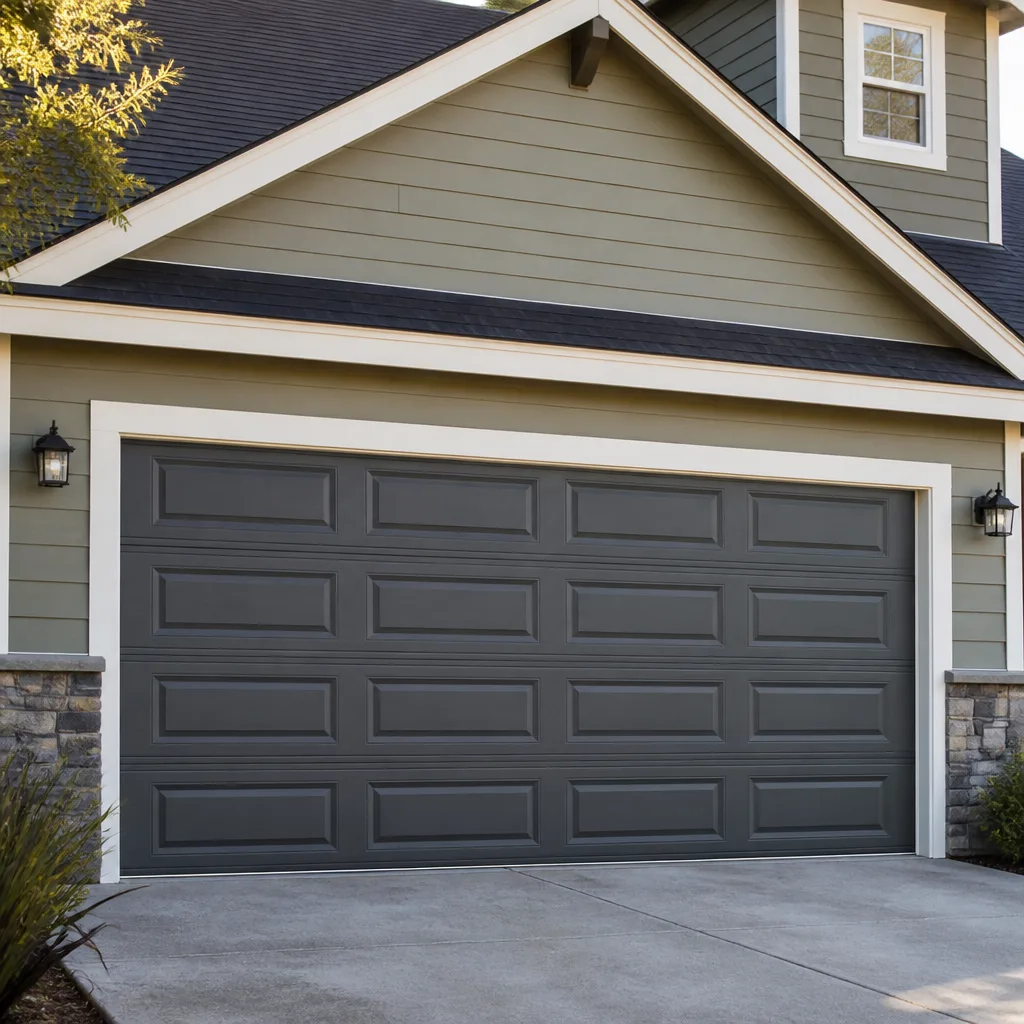 Raised-panel steel
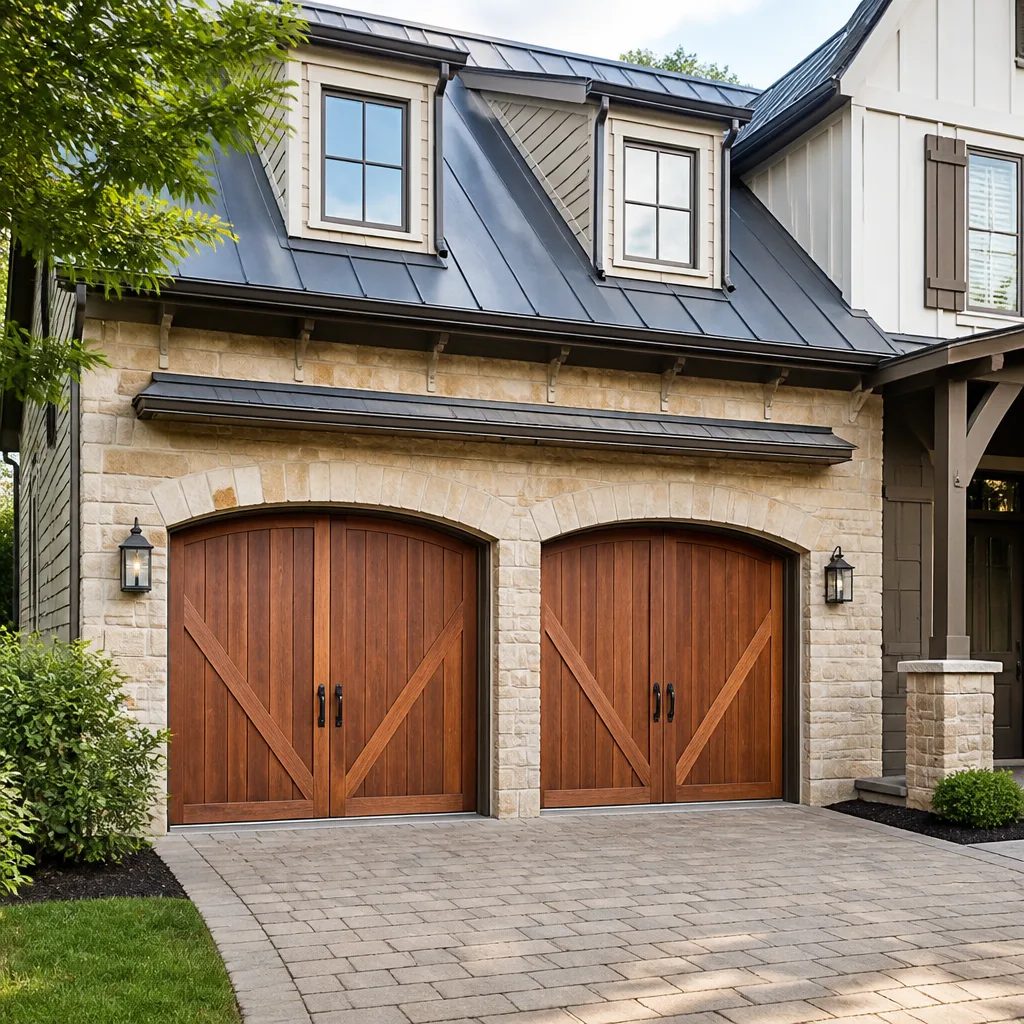 Carriage house
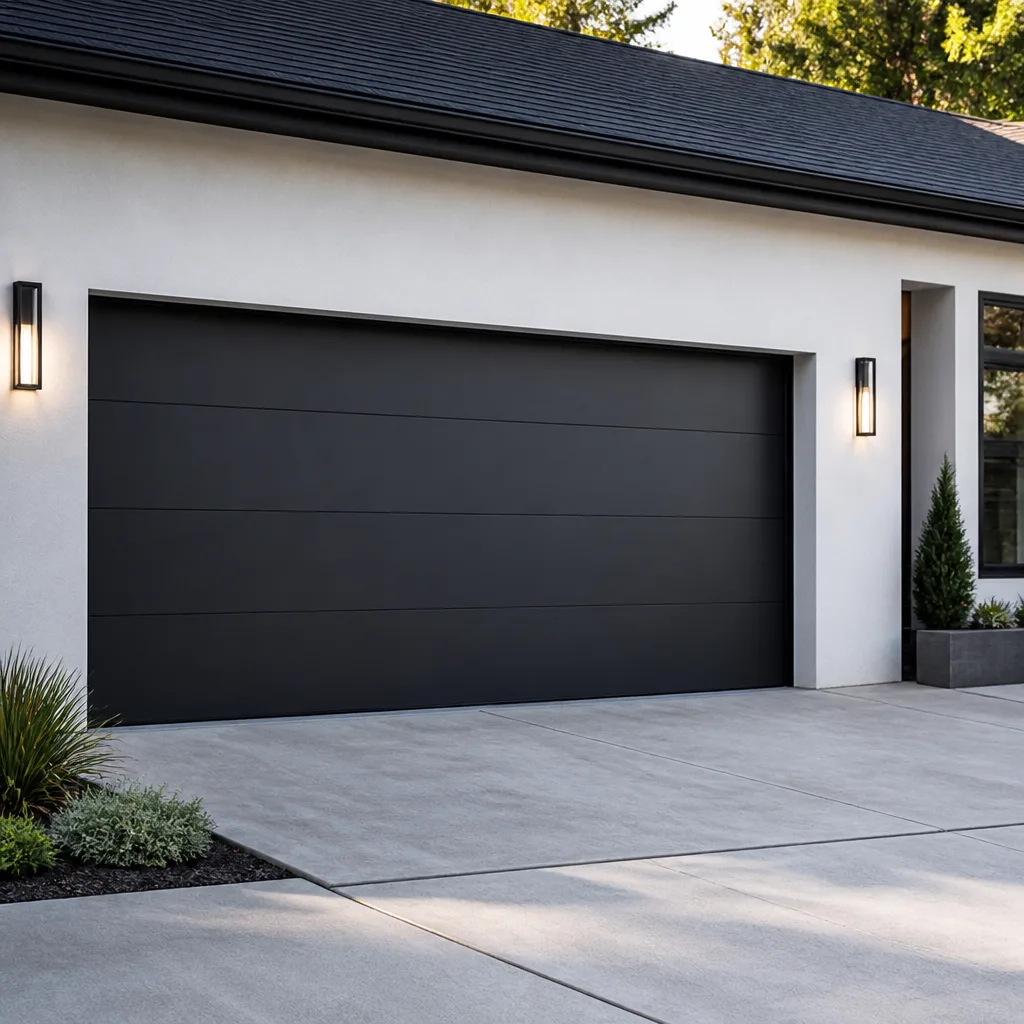 Modern flush
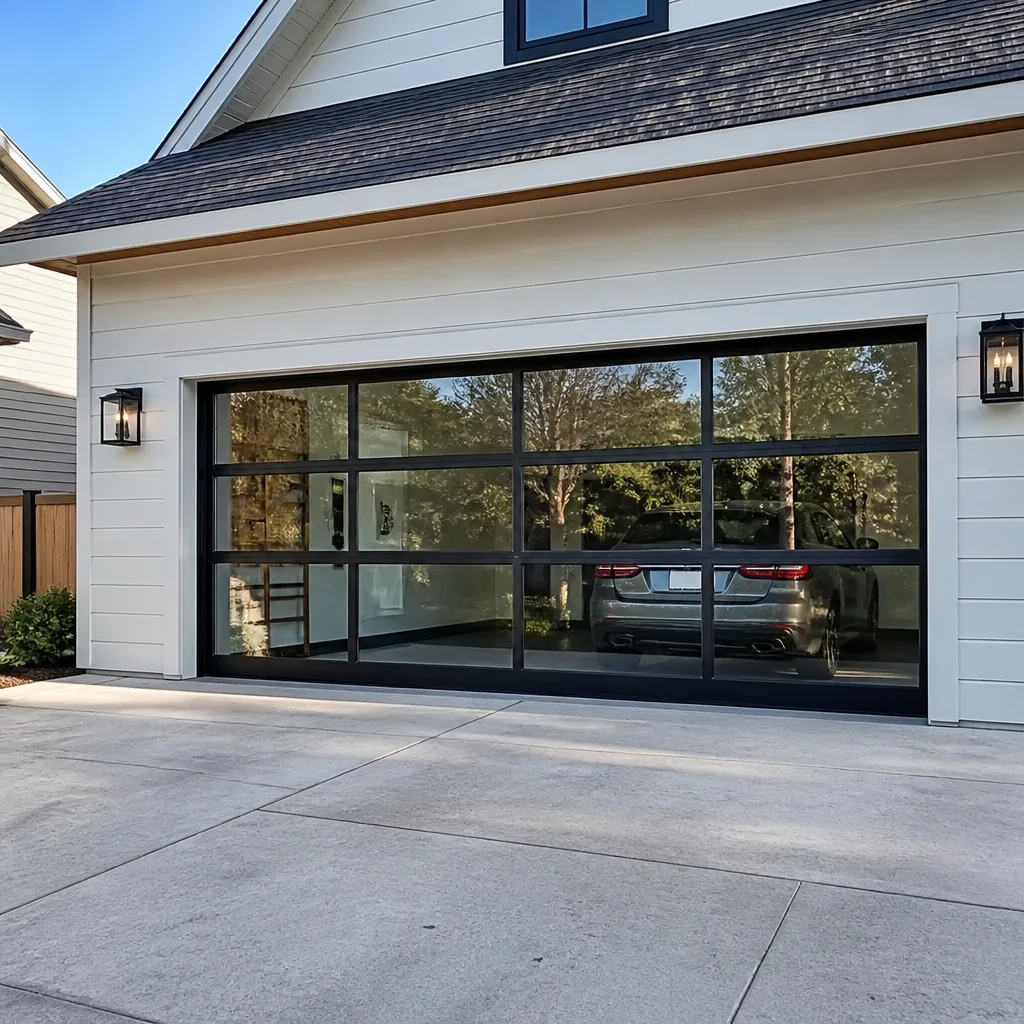 Full-view glass
 LiftMaster openers
 Chamberlain openers
Full 25-point door and opener safety check with every visit - springs, cables, rollers, tracks, and your LiftMaster or Chamberlain opener included
You get a price before we start. It does not change when the truck arrives.
Get your free estimateGarage Door Repair Maintenance Checklist for Sylmar Homeowners
A spring that snaps without warning doesn’t fail overnight. It gives you months of signals: a slightly heavier door, a faint creak that wasn’t there before, a cable that looks a little fuzzy where it meets the drum. Most maintenance checklists tell you to lubricate and “check for wear” without ever showing you what worn actually looks like or what product to use in Sylmar’s heat. This checklist is different. We’re going to give you technician-level specifics: exact lubrication points, the correct product types, how to measure spring wear before it fails, and opener tests with pass/fail criteria you can apply this weekend. This is the same inspection process our team uses when we’re called out for garage door repair in Sylmar, written so a homeowner can do the routine half and know exactly when to call us for the other half.
Quick Answer
A garage door maintenance checklist for Sylmar homeowners comes down to seven items: lubricate the rollers, hinges, and springs with a white lithium or silicone spray every six months (more in summer heat); inspect springs for gaps, rust, and uneven coil spacing; check cables for fraying and measure track alignment at the roller gaps; test the auto-reverse and force limits monthly; tighten all hardware twice a year; clean and align the photo eyes; and listen for changes in opener sound. Most of this takes under thirty minutes and requires nothing more than a step ladder, a rag, and the right lubricant.
Styles & brands we work with
- Raised-panel steel
- Carriage house
- Modern flush
- Full-view glass
- LiftMaster openers
- Chamberlain openers
Table of Contents
- Seasonal Timing for Sylmar’s Temperature Swings
- Lubrication: Exact Points, Correct Products, and Intervals
- Spring Inspection: Measuring Wear Before Failure
- Cable Inspection: Fraying Benchmarks, Not Guesswork
- Track Alignment: What a 1/8-Inch Gap at a Roller Means
- Opener Force-Limit and Auto-Reverse Tests
- Photo Eyes and Safety Sensors
- Common Mistakes to Avoid
- When to Call a Professional
- Frequently Asked Questions
Seasonal Timing for Sylmar’s Temperature Swings
Sylmar sits in the northern San Fernando Valley where summer temperatures routinely cross 100 degrees and winter nights dip into the 40s. That spread matters for your garage door because metal expands and contracts, lubricants thin out or gum up, and rubber seals harden faster in sustained heat. A generic “lubricate quarterly” calendar written for a mild coastal climate won’t serve a Sylmar homeowner the same way. Our recommendation is two deep inspections per year: one in late spring before the heat peaks, and one in late fall as temperatures settle. In between, do a five-minute visual check every month when you take the trash out. The goal isn’t to inspect more often. It’s to inspect at the right moments relative to how Sylmar’s weather actually behaves.
Late spring is the critical one. Heat accelerates lubricant breakdown, so the grease that worked in March may be nearly useless by August. A door that runs fine at 70 degrees can bind at 100 because the tracks have expanded and the lubricant has thinned. When you do the spring inspection, apply fresh lubricant even if the old coat still looks wet. It has likely lost its viscosity. The fall inspection is more about catching what summer did: dried seals, loosened hardware from repeated expansion, and any wear on components that ran hotter than usual. If you only do one thorough pass per year, make it late spring. The rest of the year, keep an eye on the basics. If you’re unsure what you’re looking at, a Sylmar garage door technician can walk you through it without a sales pitch.
Lubrication: Exact Points, Correct Products, and Intervals
Here’s the first thing most blogs get wrong: WD-40 is not a garage door lubricant. It’s a solvent and water displacer. Spray it on your door’s moving parts and you’ll strip whatever lubricant was there, leaving metal-on-metal contact that accelerates wear. Use a white lithium grease spray or a silicone-based garage door lubricant. Both hold up in Sylmar’s summer heat far better than general-purpose oils. Apply lubricant to these exact points, in this order:
- Hinges – every hinge leaf where the door sections bend. One short spray at each pivot point. Wipe away any drips.
- Rollers – only the metal rollers with ball bearings get lubricant at the bearing. If you have nylon rollers, the wheel itself doesn’t need it, but the stem and bearing do. Do not lubricate plastic rollers without bearings; it does nothing and collects dust.
- Springs – both torsion springs above the door or the extension springs along the horizontal tracks. Spray the full length of each spring. On torsion springs, the lubricant works into the coil gaps. On extension springs, coat the entire coil surface.
- Bearing plates – the plates at each end of the torsion tube where the shaft rotates. One spray per plate.
- Lift cables – a light coat along the cable length prevents internal friction between the wire strands. Do not soak them; just a thin film.
- Track – here’s the counterintuitive one: do not grease the track. The rollers need friction to roll, not slide. Grease on the track collects dirt and causes the door to drag. If the track is dirty, clean it with a rag and leave it dry.
Interval for Garage Door Repair Sylmar climate: every six months, spring and fall. If the door gets heavy daily use in summer, a mid-summer touch-up on hinges and springs only takes five minutes and keeps the system quiet. We service openers from LiftMaster, Chamberlain, Genie, and Raynor, and the same lubrication intervals apply regardless of opener brand. The mechanical door doesn’t care what motor drives it.
Spring Inspection: Measuring Wear Before Failure
Here’s what a failing torsion spring actually looks like before it snaps. The coil gap widens unevenly. The spring loses its uniform spacing and starts to look like a stretched Slinky in one section. A healthy torsion spring has consistent, tight coils with no visible gaps beyond the factory spacing. When you see a gap open up between coils – even a sixteenth of an inch – that section of the spring has lost tension and is working harder than the rest. The second sign is rust. Surface rust is cosmetic. Rust that has pitted the metal and created flakes is structural. A pitted spring is a spring counting down. We recommend calling a technician when you see either sign, because a torsion spring under tension is not a DIY repair. The stored energy is enough to cause serious injury if it releases while you’re working on it. This is one component where the maintenance checklist ends and a trained professional takes over.
Extension springs have their own visual benchmark. When the door is closed, both extension springs should be the same length and both should have tension. An extension spring that hangs with a slight sag when the door is open, or that looks longer than its pair when the door is closed, has stretched. That’s a replacement indicator, not a waiting game. In our experience across Sylmar’s older neighborhoods, extension spring doors from the 1980s and 1990s are the most common source of “the door suddenly got heavy” calls. The spring didn’t fail suddenly. It stretched gradually over years and the homeowner adapted to the extra weight until the opener couldn’t compensate.
A note on spring replacement: springs are rated in cycles, not years. A door that opens four times a day hits 10,000 cycles in about seven years. If you don’t know when your springs were last replaced and the door shows any of the wear signs above, plan the replacement before the failure. The cost of a planned spring replacement is far less disruptive than a door that won’t open on a Monday morning.
Cable Inspection: Fraying Benchmarks, Not Guesswork
A garage door cable doesn’t fray evenly like a rope. It frays where it rubs against something: at the drum where it winds and unwinds, at the bottom bracket where it attaches to the door, and anywhere it passes through a pulley. Run your finger lightly along the cable (wearing gloves) and feel for flat spots, bumps, or a fuzzy texture. Fraying looks like small individual wires starting to separate from the main bundle. One or two separated wires at a rub point is the early warning. Once you can see three or more broken strands in the same spot, the cable has lost meaningful strength and should be replaced. Do not wait for the cable to unravel completely. When a cable breaks, the door drops unevenly and the remaining cable takes the entire load, which is how doors come off their tracks.
The bottom bracket is the most overlooked inspection point in Sylmar homes. Heat dries the cable’s internal lubrication over time, and the repeated flexing at the bracket creates metal fatigue. Look for rust staining around the bracket where the cable terminates. Rust stain means moisture sat there, and moisture accelerates strand failure. If the bracket itself is bent or the cable has slipped even a quarter inch, call us. This is the kind of thing we see on garage door repair calls where the homeowner knew something looked off but couldn’t name it.
Cable replacement is not a DIY task. The cables work against the spring tension, and releasing that tension without the proper winding bars and procedure is dangerous. This is a call-a-professional item, not an add-to-the-weekend-list item.
Track Alignment: What a 1/8-Inch Gap at a Roller Means
Here’s a benchmark you can actually measure: each roller should sit snugly in the track with no more than 1/8 inch of play between the roller wheel and the track wall. More than 1/8 inch means the track has shifted, the roller is worn, or the bracket holding the track to the wall has loosened. This matters because play at the roller translates into door wobble, uneven travel, and eventually a roller popping out of the track entirely. When a roller leaves the track, the door jams at an angle and the opener strains against the imbalance. That’s the moment homeowners call us because the door is stuck and they can’t get their car out.
Inspect the track in three places. First, at the bottom section where the door sits closed. Look at the gap between the roller and track on both sides of the door. They should match. Second, at the curve where the track transitions from vertical to horizontal. This is the highest-wear point because the roller changes direction there under load. Third, at the horizontal track near the opener rail. Any visible bowing or twisting in the track itself is a structural issue, not a lubrication issue.
If you find a track that’s shifted, check the mounting brackets. They attach to the wall and ceiling with lag bolts that work loose over time from the door’s vibration and Sylmar’s temperature-related expansion. Tighten them with a socket wrench. If the track is bent rather than loose, don’t try to straighten it with a hammer. A bent track needs replacement or realignment by someone who knows the geometry. The track is also one place where a small misalignment compounds: a quarter-inch shift at the bottom becomes a half-inch at the curve and a stuck door at the top. Early correction is the only cheap correction.
Opener Force-Limit and Auto-Reverse Tests
The auto-reverse test takes under a minute and is the single most important safety check you can do yourself. Close the door on a 2×4 laid flat under the center of the opening. The door should reverse within two seconds of touching the wood. If it doesn’t, the force-limit setting is too high and the door will crush whatever gets under it. Try the same test with a roll of paper towels. A well-adjusted opener should reverse on contact with the paper towels too. If it only reverses on the 2×4, that’s a fail. The force limit needs to come down.
For openers with a force-limit dial, it’s a small adjustment on the motor unit, usually on the back or side. Turn it down a quarter turn at a time and re-test with the paper towels until the door reverses reliably. For newer smart openers from LiftMaster or Chamberlain, the force limit is often set digitally through the wall console or app. Either way, the test is the same. Do this monthly. Not because the opener drifts often, but because the door’s weight changes as springs age and lubricant breaks down. An opener that was perfectly tuned in January may be overcompensating by July, and the only way to know is to test it.
The manual release test is the second check. Pull the red-handled release cord and operate the door by hand. It should lift smoothly through its full travel with even resistance, stay open on its own, and lower with controlled resistance. If the door wants to slam shut or feels impossibly heavy to lift, the springs are no longer doing their job and the opener is carrying the whole load. That’s how openers burn out prematurely. We fix the mechanical imbalance before it kills the motor. This is also the diagnostic we run first when someone calls about garage door opener repair because the opener won’t lift the door. Eight times out of ten in Sylmar, the opener isn’t the original problem. The springs are. The opener just exhausted itself trying to compensate.
Photo Eyes and Safety Sensors
Photo eyes are the little sensors on either side of the door, about six inches off the ground. You have two: one sends an infrared beam, the other receives it. If anything breaks the beam while the door is closing, the opener reverses. Simple concept, but it’s the component most likely to fail from everyday conditions in Sylmar. Dust, cobwebs, leaves, and yard debris settle on the lenses. Sunlight at dawn or dusk can blind the receiving sensor if the angle is right. A sensor that’s been nudged off alignment by a bump from a trash can or a child’s bike will disable the door entirely.
Check the photo eyes monthly. First, wipe both lenses with a dry cloth. Look for a solid, steady indicator light on each. Both sensors should show a steady light, not blinking. A blinking light on one sensor means misalignment: the beam isn’t hitting the receiver. Adjust the sensor bracket by hand until the light goes steady. Test with an object in the beam – a broom handle works – and confirm the door won’t close. Then remove the object and confirm normal operation. If the lights are steady but the door still won’t close, the sensors may have failed internally or the wiring has a problem. That’s a diagnostic call, not a cleaning call.
One local note: Sylmar’s summer heat can cause sensor brackets to expand and drift out of alignment even when no one touched them. If your door worked fine in the morning and won’t close in the afternoon, check the photo eyes before assuming the opener died. It’s the most common false alarm we hear about.
Common Mistakes to Avoid
- Using WD-40 on the door. It strips lubricant and accelerates metal wear. Use white lithium or silicone spray instead. This single mistake shortens component life more than any other maintenance error we see.
- Greasing the tracks. The rollers need friction to roll. Grease on the track collects dust and creates a grinding paste that wears both track and roller. Clean the track, never lubricate it.
- Ignoring a heavier door. When the door gets harder to lift, the springs are failing. Waiting means the opener takes the load, and openers are not designed for that. Fix the spring before the opener burns out.
- Adjusting the opener force instead of the springs. Cranking up the force limit to make a heavy door work is like turning up the volume on a failing engine. The real problem is the mechanical door, not the motor.
- Not testing auto-reverse. A door that doesn’t reverse on a paper towel roll is a safety hazard. The test takes one minute. Do it monthly.
- Replacing one spring instead of both. Springs cycle together. Replacing one means the old spring fails soon after and you pay for labor twice. A matched pair is the only sensible replacement.
- Doing spring or cable work as a DIY project. Torsion springs hold enormous tension. Cables work against that tension. This is the one area where the professional skill set isn’t optional.
When to Call a Professional
Call us when you see a gap in a torsion spring’s coils, three or more broken cable strands, a track that’s visibly bent instead of just loose, or any auto-reverse test that fails after two adjustments. These are the conditions where continued use risks property damage or injury. We also recommend calling before a planned replacement. A technician can assess whether the door itself is still sound or whether you’re better off replacing the whole system. That assessment changes the budget conversation. Garage Door Repair Sylmar offers free estimates in Sylmar. Call (855) 360-5967 and we’ll put eyes on the door, tell you what’s worn, what’s fine, and what it costs to fix it before any work starts. The written estimate sets the price. Nothing is authorized until you approve it.
Frequently Asked Questions
Every six months, in late spring and late fall. Sylmar’s high heat breaks down lubricant faster than milder climates, so the spring application is the essential one. A mid-summer touch-up on hinges and springs helps if the door gets heavy daily use.
White lithium grease spray or a silicone-based garage door lubricant. Do not use WD-40, which is a solvent and will strip existing lubrication. Spray the hinges, roller bearings, springs, bearing plates, and cables. Keep the tracks dry.
Look for uneven coil gaps on torsion springs, rust that has pitted the metal, or a door that feels heavier than it used to. On extension springs, check for visible stretching or length mismatch between the pair. Any of these signs means replacement is coming, not optional.
Yes. Close the door on a 2×4 laid flat under the center. The door should reverse within two seconds. Then test with a roll of paper towels; a properly adjusted opener reverses on that too. If it doesn’t, the force limit is too high and needs adjustment.
Metal tracks expand in Sylmar’s summer heat, which can make a borderline alignment problem worse in the afternoon. Photo eye brackets can also drift as they expand. If the door works in the morning and fails by 2pm, check the track gaps and sensor alignment before assuming the opener failed.
Both. Springs wear on the same cycle count, so the surviving spring is usually not far behind the broken one. Replacing the pair costs more upfront but avoids a second labor charge in six months. The written estimate sets the final price before work begins.
The Bottom Line
A garage door that gets fifteen minutes of attention twice a year will outlast a neglected one by years. The checklist comes down to this: use the right lubricant on the right points, measure spring and cable wear with the benchmarks in this guide, test the auto-reverse monthly, and keep the tracks aligned. Sylmar’s heat makes the spring and fall inspections more important than in milder climates. And when a component reaches its failure benchmark, don’t wait for it to break. A planned repair is always cheaper and less disruptive than an emergency. Garage Door Repair Sylmar has been serving homeowners since 2015, and we work on the brand you already have. Call (855) 360-5967 for a free estimate. We answer 24/7. Fast dispatch from 7am to 7pm, Sunday through Friday.
Written by the team at Garage Door Repair Sylmar, serving Sylmar since 2015.
See the difference
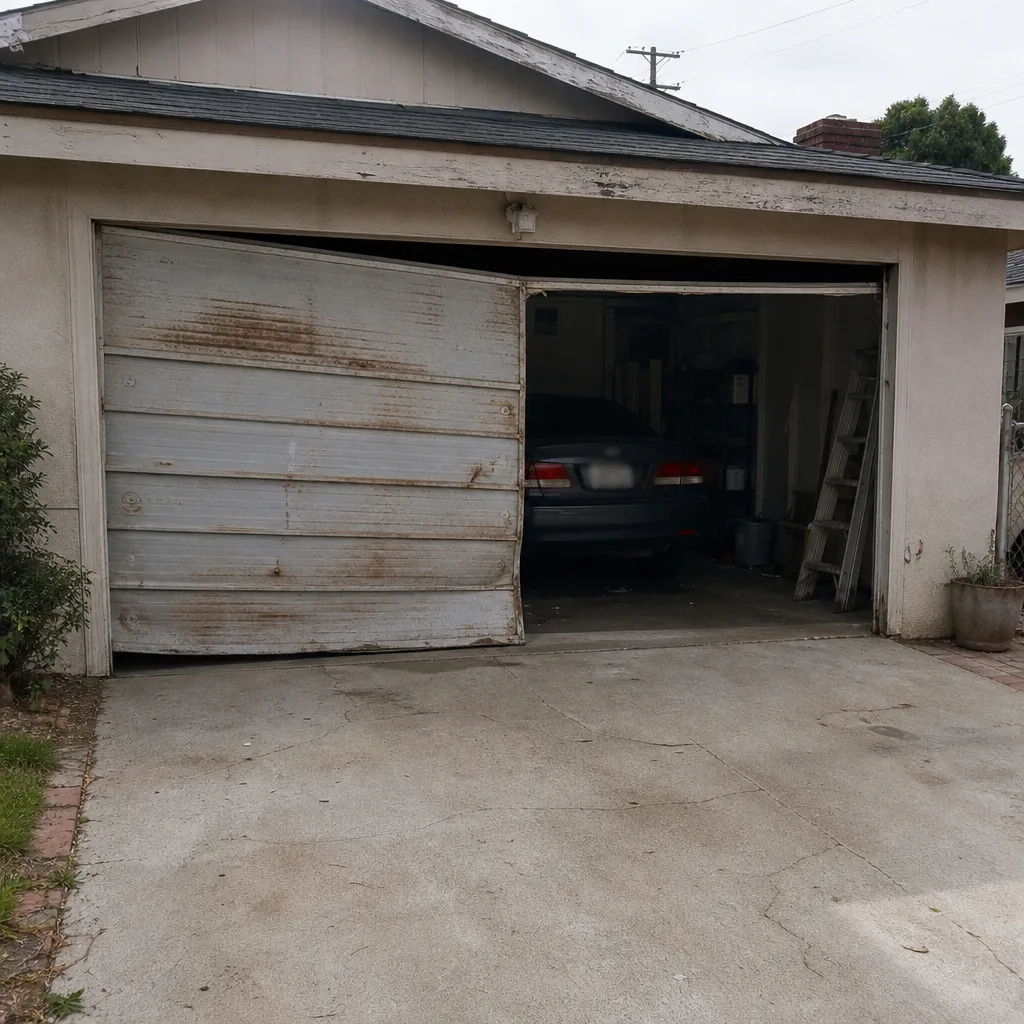 Before
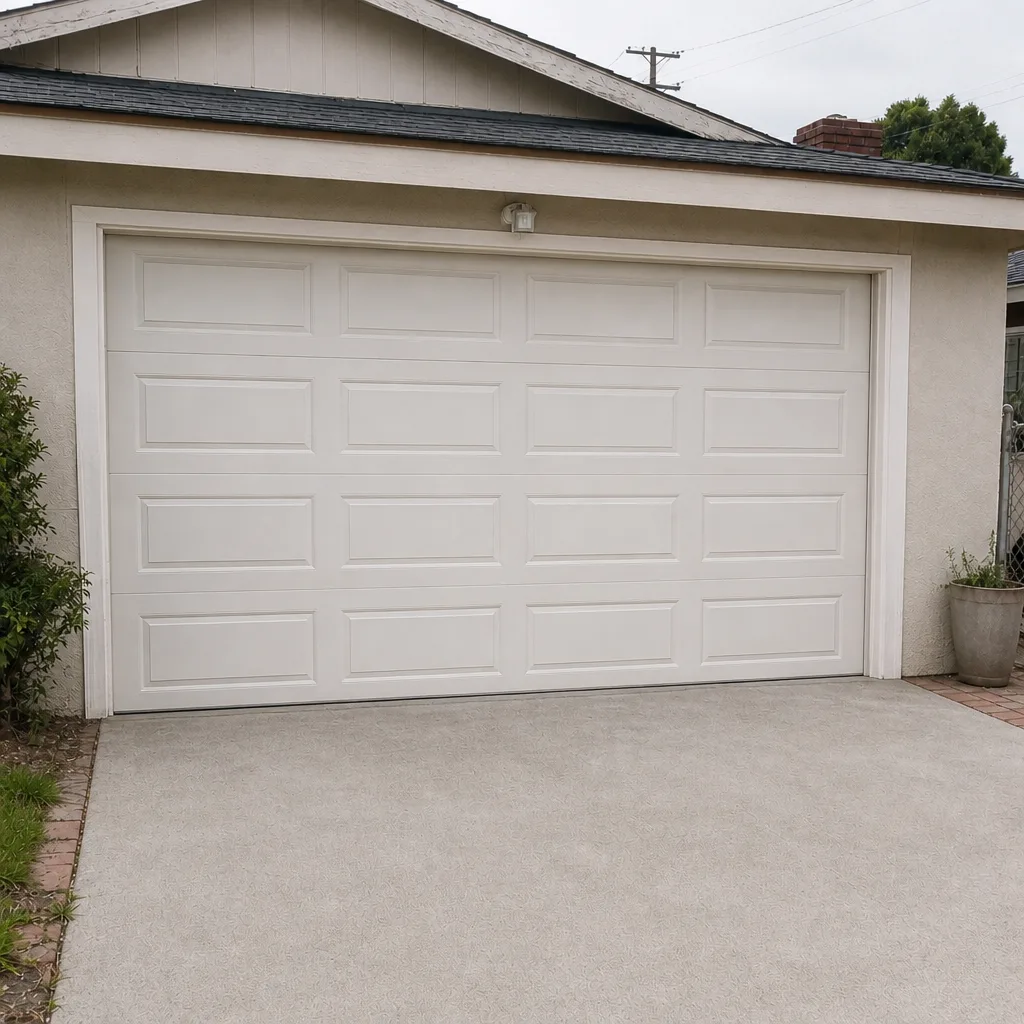 After
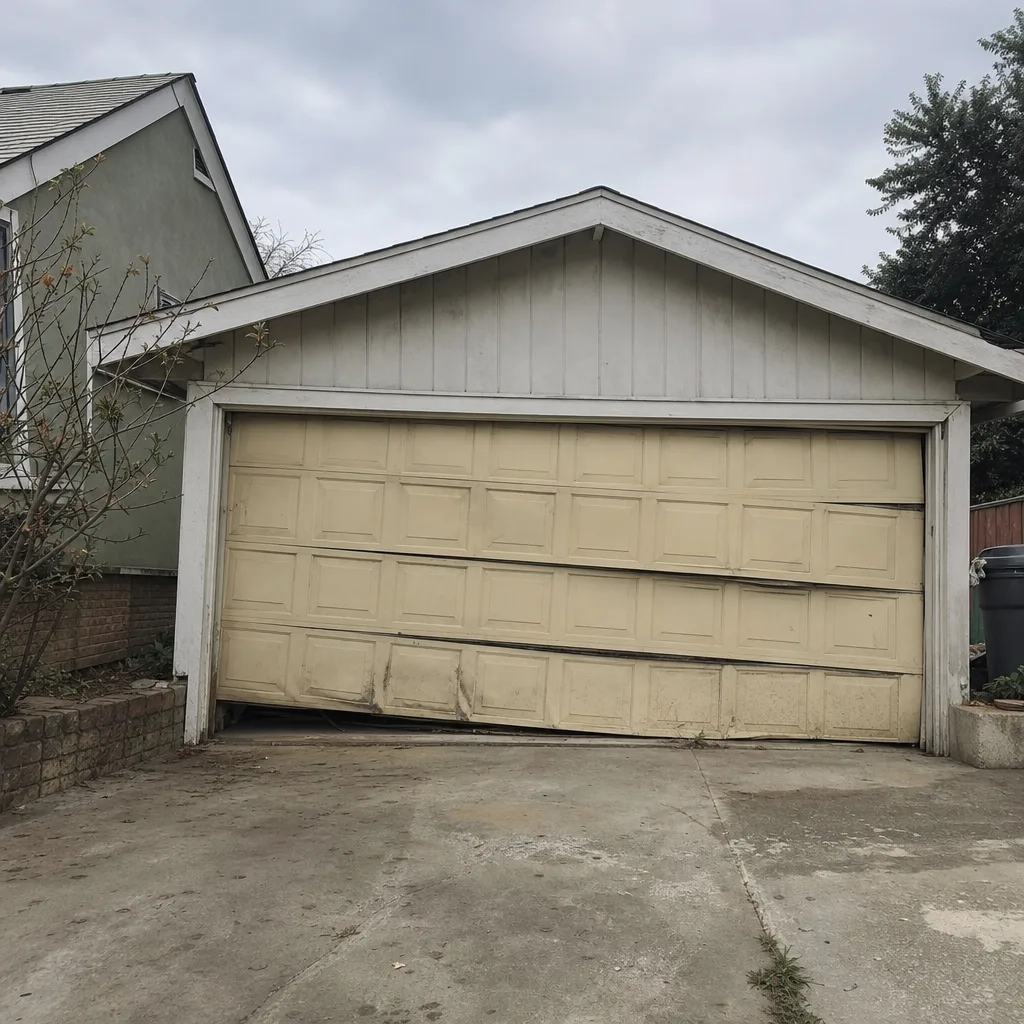 Before
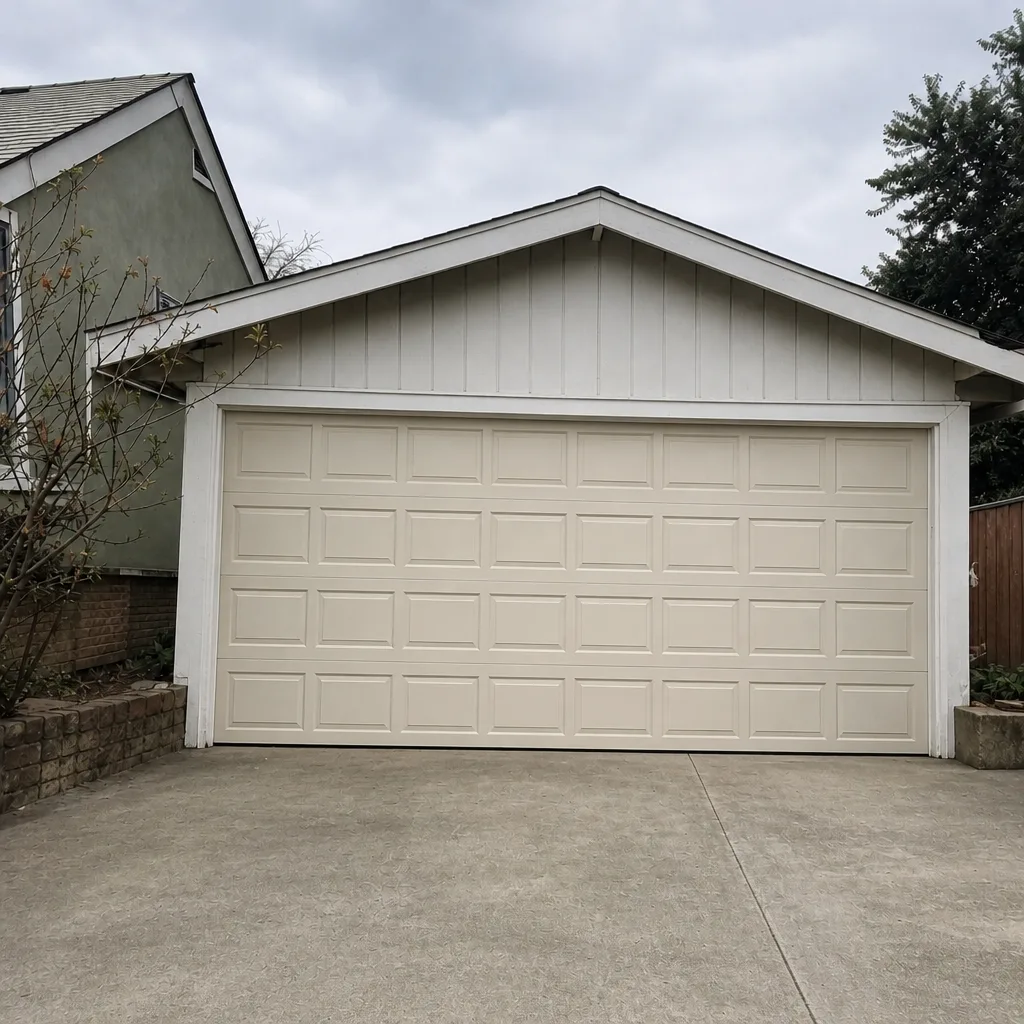 After
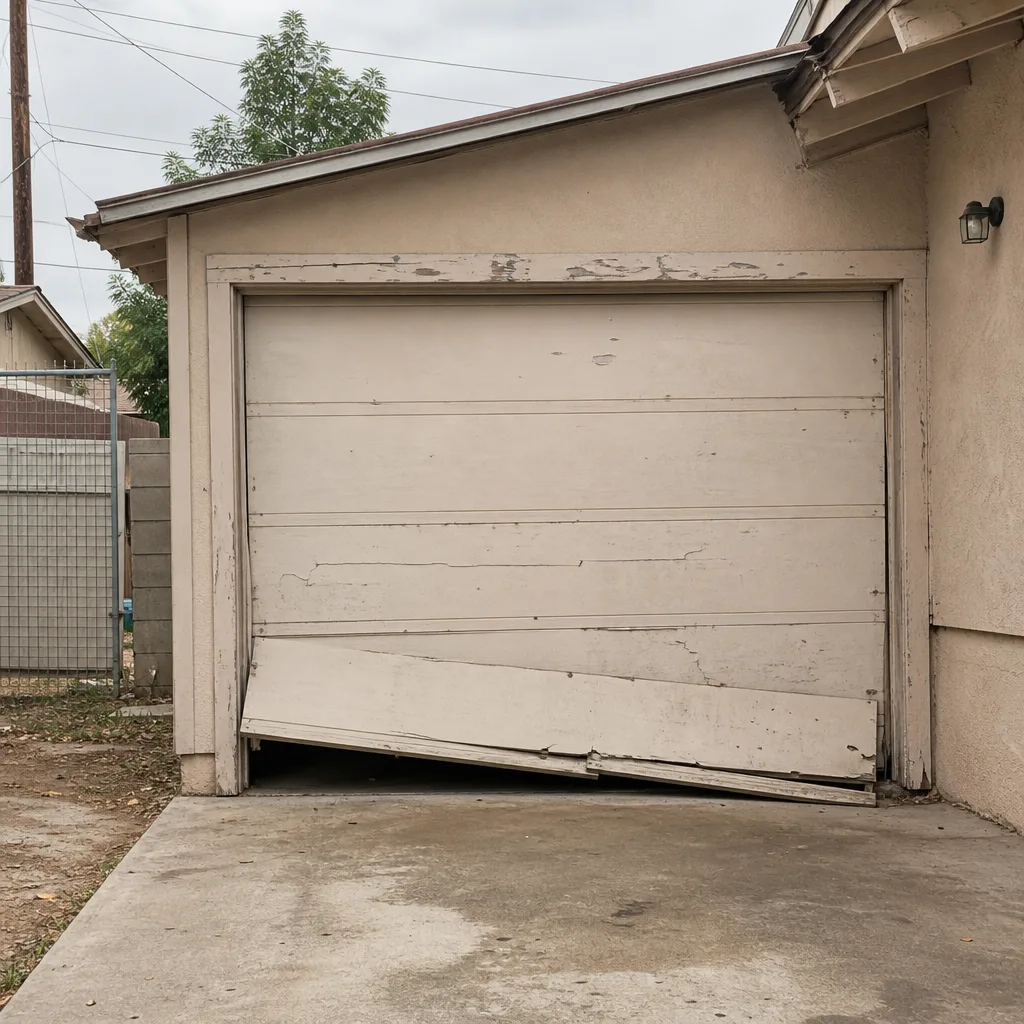 Before
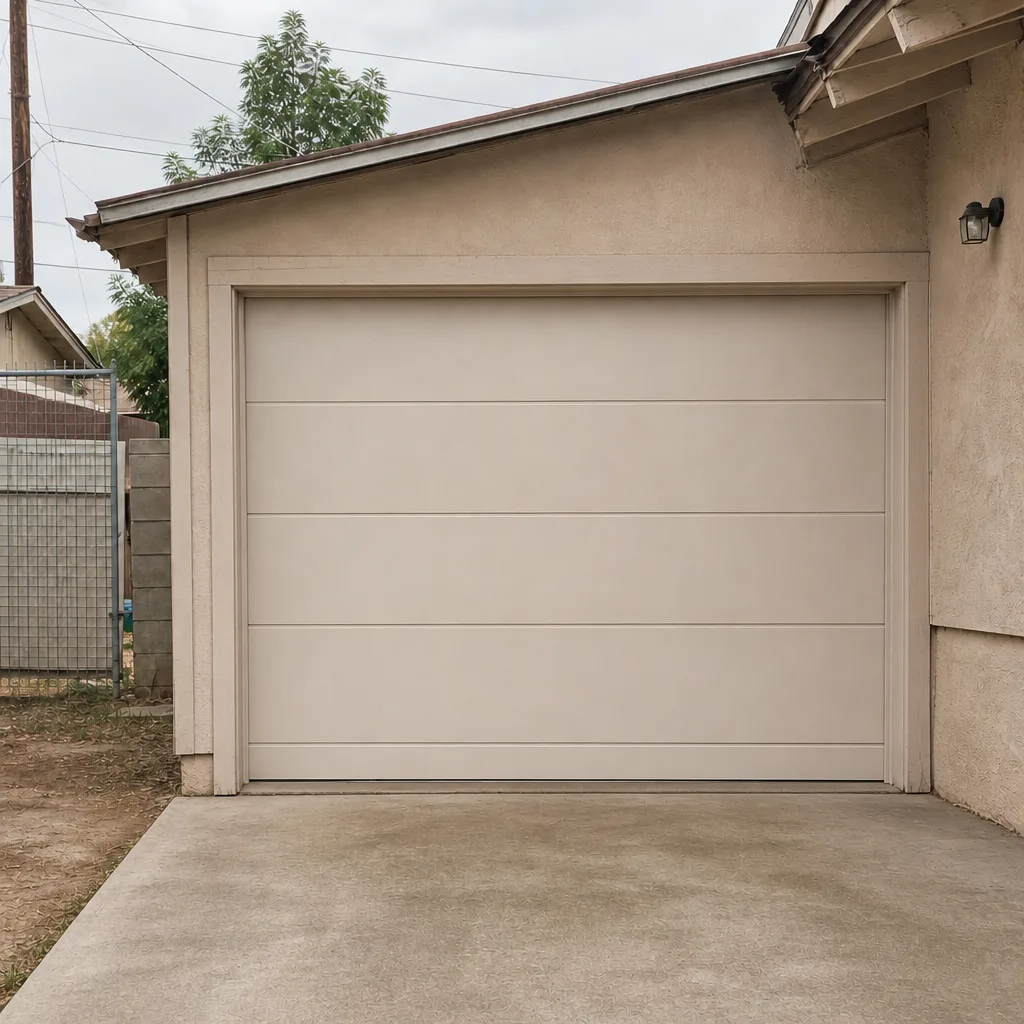 After