
Last updated November 4, 2026
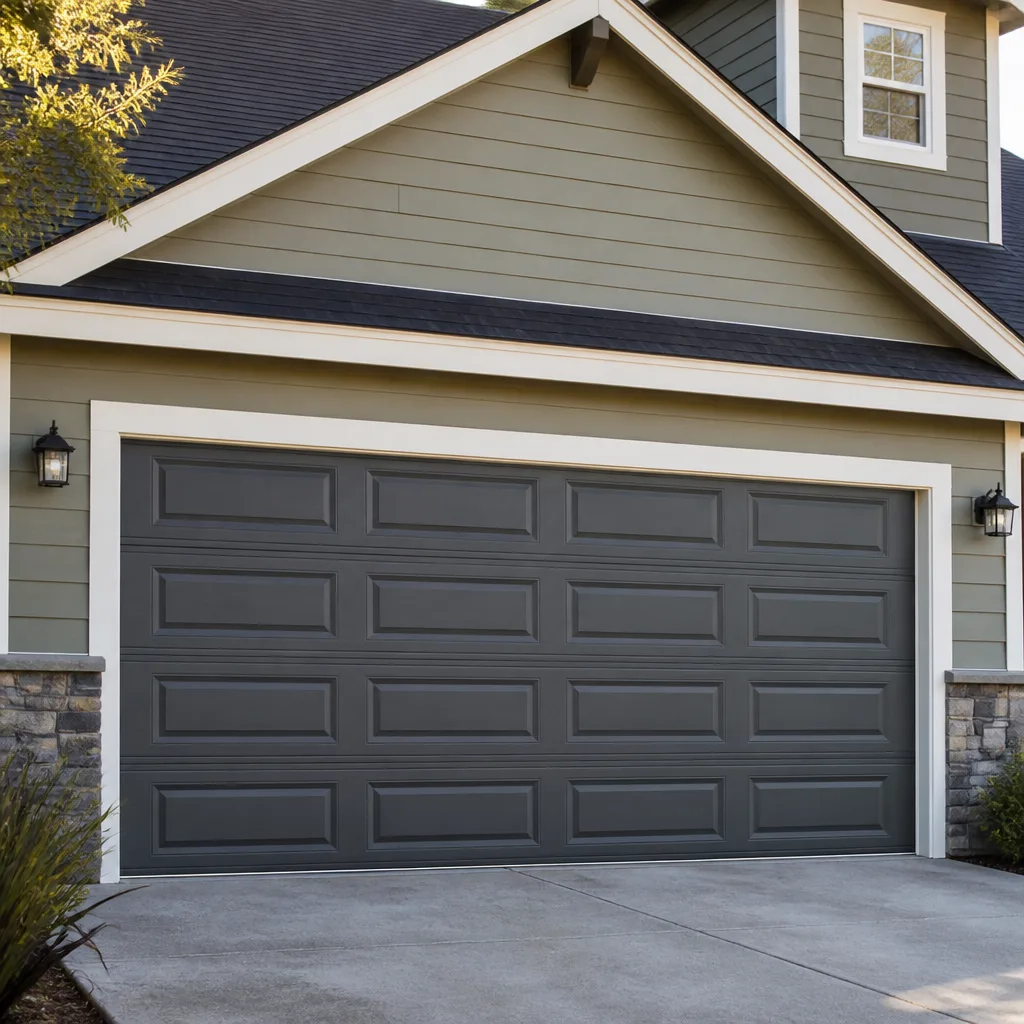 Raised-panel steel
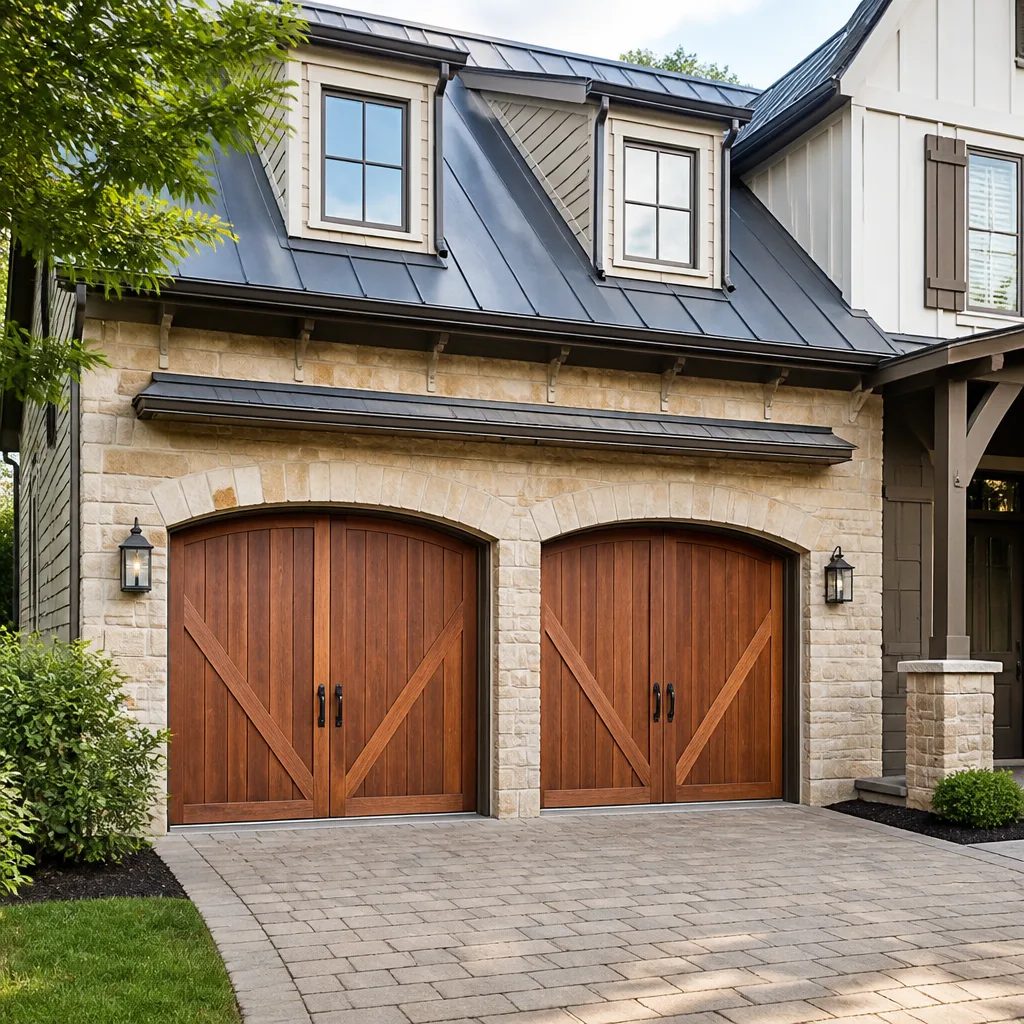 Carriage house
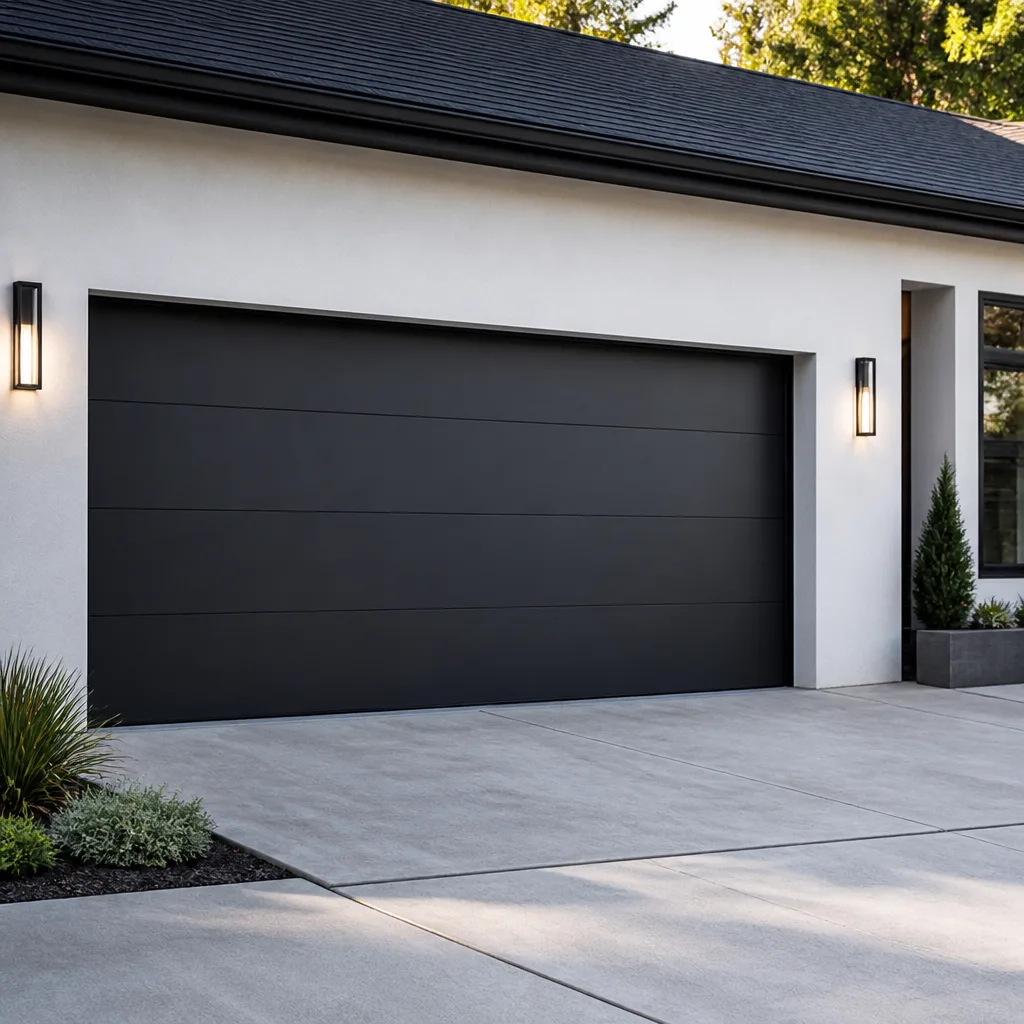 Modern flush
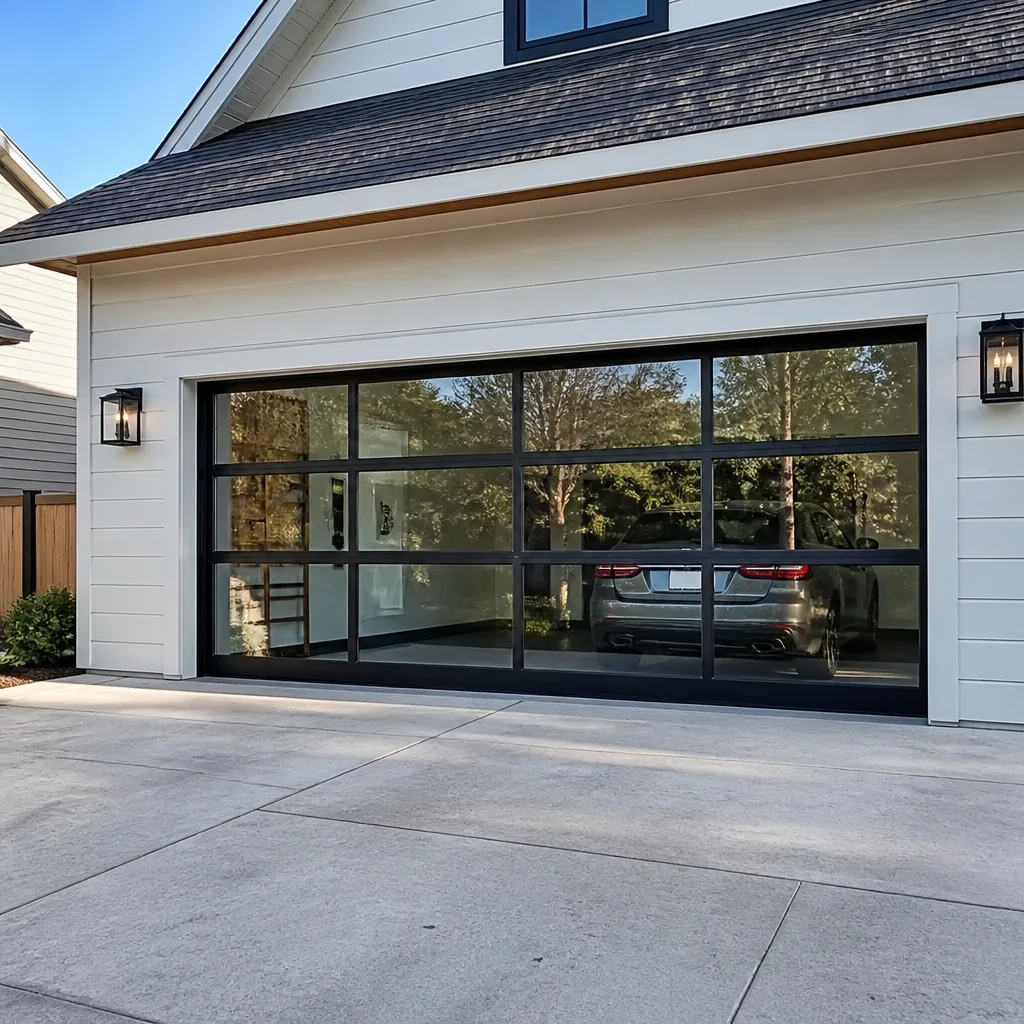 Full-view glass
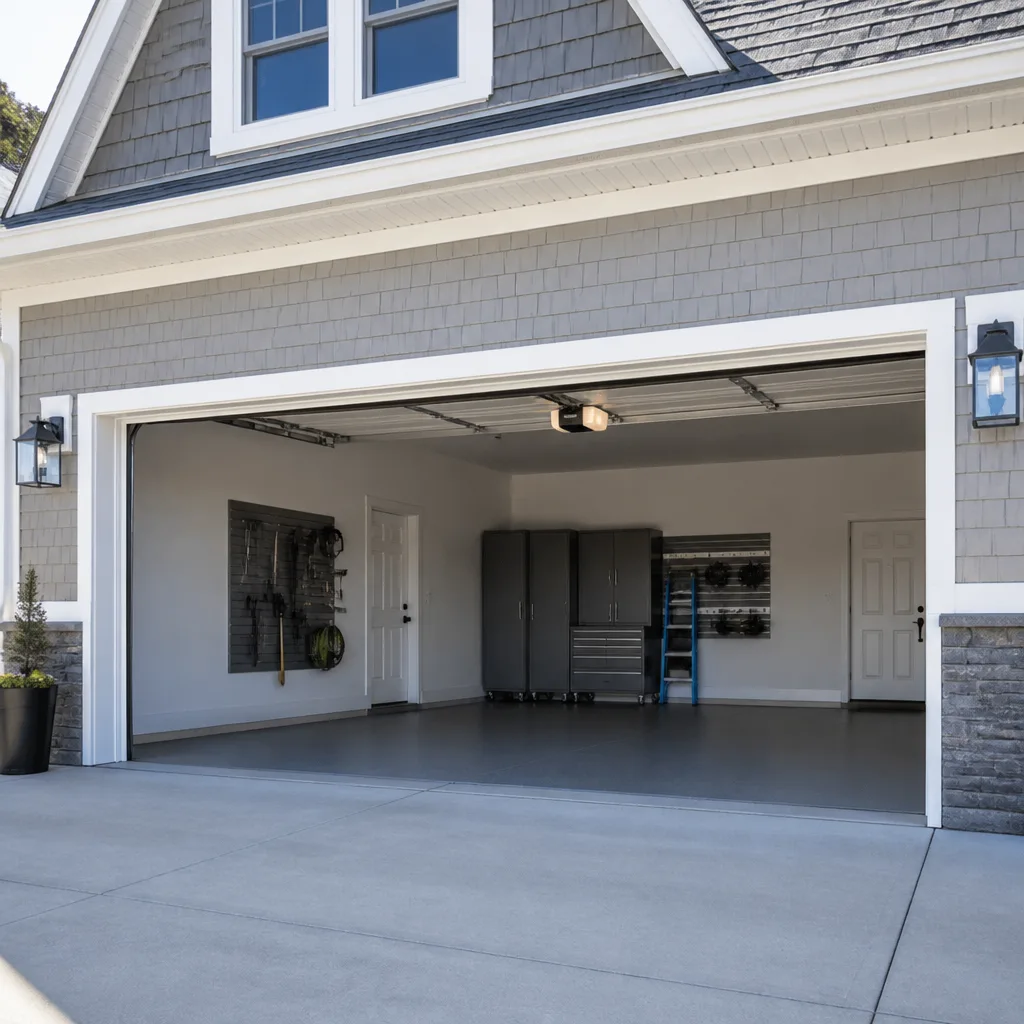 LiftMaster openers
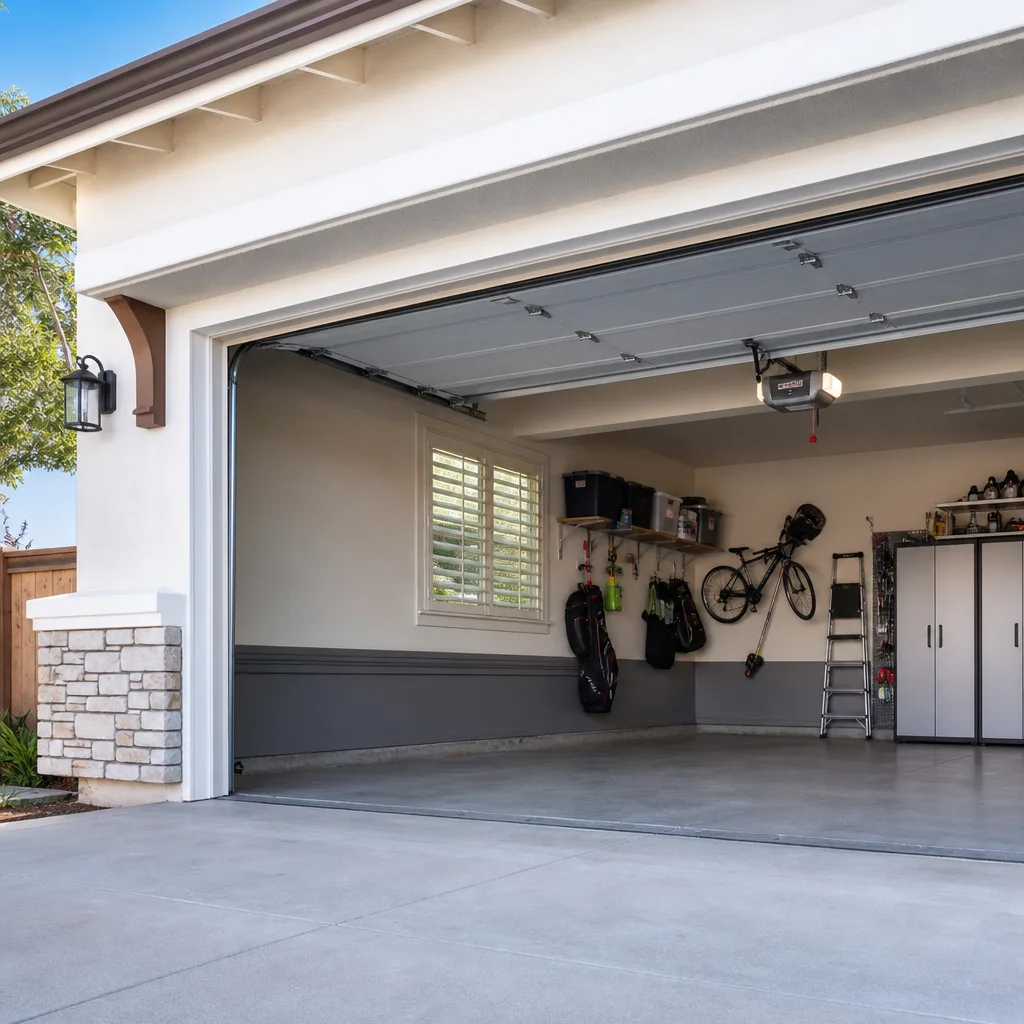 Chamberlain openers
Full 25-point door and opener safety check with every visit - springs, cables, rollers, tracks, and your LiftMaster or Chamberlain opener included
You get a price before we start. It does not change when the truck arrives.
Get your free estimateDIY vs Professional Garage Door: The Sylmar Homeowner’s Decision Guide
Most homeowners don’t realize the most dangerous spring in their house isn’t in the car or the lawnmower. It’s coiled above the garage door, holding hundreds of pounds of tension every single day. Torsion springs store enough energy to break a wrist or crush a hand in a fraction of a second and in Sylmar, where garage doors are often the primary entry point to the home, the stakes of getting this decision wrong are higher than a dented door panel. This guide draws a precise line: which tasks a careful homeowner can handle safely, and which ones require professional training, specialized tools, and a healthy respect for physics. You’ll learn the real cost comparison, the mistake to avoid in Sylmar heat, and how to prep before you even pick up the phone.
Styles & brands we work with
- Raised-panel steel
- Carriage house
- Modern flush
- Full-view glass
- LiftMaster openers
- Chamberlain openers
Quick Answer
Most garage door maintenance tasks, like tightening bolts, cleaning tracks, and testing the auto-reverse safety feature, are safe for a careful homeowner with basic tools. Anything involving torsion springs, cable under tension, or opener motor diagnostics should be handled by a professional, because the injury risk and damage potential far outweigh any savings from doing it yourself. In Sylmar, where summer heat accelerates spring fatigue and opener circuit failure, knowing which tasks fall on which side of that line saves you time, money, and a trip to urgent care.
Table of Contents
- The Tasks You Can Safely Do Yourself
- The Tasks That Require a Professional
- Torsion vs Extension Springs: Why the Difference Matters
- The Real Cost of DIY Garage Door Work
- Sylmar Heat Mistakes That Wreck DIY Efforts
- How to Prep Before a Service Call
- Common Mistakes to Avoid
- When to Call a Professional
- Frequently Asked Questions
- The Bottom Line
The Tasks You Can Safely Do Yourself
There’s a real list of garage door maintenance tasks that a competent homeowner can handle without calling anyone. These are the items we tell every Garage Door Repair Sylmar customer to check first, because they prevent small issues from becoming expensive repairs.
Weekly and Monthly Checks
- Visual inspection of rollers and tracks: Look for cracked or chipped rollers, bent track sections, and loose mounting brackets. If you see a track that’s pulled away from the wall, that’s a professional fix, but spotting it early is a homeowner job.
- Tightening visible bolts and screws: Garage doors cycle thousands of times a year. Vibration loosens hardware. A socket wrench and ten minutes once a month keeps everything snug. Don’t overtighten, which is a mistake covered below.
- Testing the auto-reverse safety feature: Place a roll of paper towels or a piece of 2×4 flat in the door’s path. Close the door. It should reverse within two seconds of contact. If it doesn’t, stop using the door and call a professional. This is a mandated safety feature and it needs to work every time.
- Cleaning the photo-eye sensors: The small lenses near the bottom of each track get dusty, especially in Sylmar where dry winds carry fine grit. A soft cloth wipes the lens clean. If the door still won’t close after cleaning, the alignment or wiring is off, which is a professional call.
- Listening for unusual sounds: A grinding sound usually means worn rollers. A popping sound from the spring area means stop using the door immediately. Your ears are a diagnostic tool you already own.
What You Need for These Tasks
None of the above requires more than a basic socket set, a step ladder, a soft cloth, and fifteen minutes. No specialized winding bars, no spring gauges, no training. The key distinction is that these are all inspection and minor tightening tasks. Nothing you’re doing releases stored energy or bears the door’s weight.
The Tasks That Require a Professional
Here’s where the line gets drawn sharply. These tasks are not advanced DIY. They are professional work, and the reason is simple: they involve components under load, components that can move unpredictably, or components that require calibration within narrow tolerances.
Torsion Spring Replacement or Adjustment
Torsion springs are mounted above the door on a shaft. They coil and uncoil with each cycle to counterbalance the door’s weight. When one snaps, which is common after years in Sylmar heat, the remaining spring and the entire system are no longer balanced. Replacing or adjusting a torsion spring means winding it under load, with the door up or in a locked position, using two steel winding bars and a precise count of quarter-turns (commonly 30 to 36 quarter-turns, depending on door weight and spring wire size). Get the count wrong and the spring is wrong. Release the tension improperly and the bar becomes a projectile. This is the one task we tell homeowners never to attempt, because the failure mode is catastrophic and instantaneous. Call garage door repair for this, every time.
Cable Replacement or Adjustment
The lift cables run from the bottom brackets of the door up to the torsion shaft or extension spring pulley. When a cable snaps, the door becomes wildly unbalanced. The cable itself is under constant tension when the door is in the down position. Replacing one means securing the door, unwinding the spring (or releasing the tension on the extension spring), fitting the new cable, and rewinding to the correct tension. That sequence, done in the wrong order, risks the door dropping suddenly or the spring releasing unexpectedly. It is not a beginner project.
Opener Motor Diagnosis and Repair
A wall switch that doesn’t respond, a motor that runs but doesn’t move the door, a unit that hums and trips a breaker: these all point to the opener’s logic board, capacitor, gear assembly, or limit switches. Diagnosing this correctly requires a multimeter, knowledge of the specific opener’s wiring diagram, and often firmware or model-specific parts. We work on garage door opener repair for LiftMaster, Chamberlain, Genie, and others every week, and the most common pattern is a homeowner who replaced a logic board based on a YouTube video for a different model and now has two problems. Opener problems diagnosed, not guessed, is the whole job.
Full Door Replacement
Replacing a sectional garage door is not a two-person Saturday project. It’s an engineered system of panels, tracks, springs, cables, and weatherstripping that must be installed square, level, and within a tolerance of about a quarter inch across the opening. A door that’s off by a half inch binds, wears components, and can come out of the track. Professional installation includes correct spring sizing for the door’s specific weight, not a guess from a chart. Repair or replace, we’ll tell you which one makes sense, and replacement is always a professional job.
Torsion vs Extension Springs: Why the Difference Matters
Not all garage door springs are the same, and the difference isn’t pedantic. It determines how the door behaves when a spring fails, and it determines how dangerous the DIY attempt really is.
Torsion springs sit on a shaft above the door opening. They work by twisting, not stretching. When the door closes, the springs wind up and store torsional energy. When the door opens, they unwind and release that energy to help lift the door. The energy is contained, but it’s enormous. A standard two-car garage door torsion spring system in Sylmar might be holding 200 to 400 pounds of lifting force, depending on door size and material. The danger comes during winding and unwinding: the winding bars are the only thing between you and that stored energy. Slip once and the bar, or the spring, moves with enough force to cause severe injury.
Extension springs stretch along the horizontal tracks, usually one on each side. They work by pulling, and they’re paired with safety cables running through the center. When an extension spring breaks, the two jagged halves can fly across the garage if the safety cable isn’t installed or has failed. The failure mode is different from torsion springs, but the injury risk is real. The common misconception is that extension springs are “the DIY kind” because they’re visible and look simpler. They are not simpler. Both spring types require precise sizing for the door’s weight, and both release stored energy violently when mishandled.
Our team has been working on garage doors exclusively since 2015, and we’ve never seen a spring injury that a tutorial could have prevented. The tutorial is the problem: it makes the job look like a series of steps, but it can’t teach the muscle memory of controlling a winding bar under load, and it can’t teach you what “too much tension” feels like until it’s too late.
The Real Cost of DIY Garage Door Work
Let’s do the honest math. The DIY decision usually starts with sticker shock on a professional quote and ends with a trip to the hardware store. Here’s what the actual numbers look like for a Sylmar homeowner.
Spring Replacement: DIY vs Professional
- DIY parts cost: A matched pair of torsion springs for a typical two-car door typically runs $90 to $160, depending on wire size and spring length. Add winding bars ($30 to $50 for a proper set, not rebar or screwdrivers), and you’re at $120 to $210 in parts and tools.
- Professional cost: A complete spring replacement, parts and labor, typically runs $250 to $400, depending on spring size and door type. The professional price includes the correct springs, balance calibration, and a safety check of cables, rollers, and the opener.
- The hidden DIY costs: If you mismeasure the spring, you’ve bought a spring that won’t support the door. If you wind it wrong, the door is unbalanced and the opener strains, shortening its life. If you injure yourself, the medical bill dwarfs the spring price. If the door falls because you didn’t secure it properly, you’ve added a panel replacement to the job.
Opener Replacement: DIY vs Professional
- DIY parts cost: A new belt-drive opener from Chamberlain or Genie typically runs $180 to $350 for the unit, plus $20 to $40 for additional mounting hardware and an outlet if the ceiling outlet is in the wrong spot.
- Professional cost: A complete opener replacement, including haul-away of the old unit and programming remotes and keypad, typically runs $350 to $600, depending on opener model and whether new wiring or a surge protector is needed.
- The hidden DIY costs: Mounting an opener requires getting the header bracket perfectly centered and the rail perfectly level. If it’s off, the opener binds and burns out early. Programming a smart-home opener to a Chamberlain or Genie app doesn’t always go smooth, and then you’re on hold with tech support instead of us doing it. And if you install it wrong and the door closes on your car because the force settings were off, you’ve cost yourself more than the installation would have.
The honest comparison isn’t just the receipt at the hardware store versus the written estimate. It’s the receipt plus your time, your risk, and the cost of fixing mistakes. On the tasks this guide marks as professional-only, the DIY savings are illusory.
Sylmar Heat Mistakes That Wreck DIY Efforts
Sylmar’s climate shapes garage door maintenance in specific ways, and the heat is the biggest factor. Here’s what we see when homeowners try to DIY in a Sylmar summer and how to avoid repeating it.
- Using the wrong lubricant. WD-40 is a solvent, not a lubricant, and in Sylmar’s dry heat it evaporates fast and leaves a thin film that attracts grit. Garage doors need a lithium-based grease on the hinges and rollers (metal parts) and a silicone spray on the tracks and weatherstripping. The heat doesn’t change the right lubricant, but it does make the wrong one fail faster.
- Misreading thermal expansion as spring failure. In July and August, metal components expand. A door that’s slightly tight to close on a 105-degree day may be operating exactly as designed. We’ve had homeowners call us convinced the springs are shot when the real issue is that they’d overtightened the track fasteners in winter and now the door binds in the heat. Before you replace anything, operate the door in the early morning and compare it to late afternoon performance. A difference of a half inch in how the door sits is normal expansion, not a broken spring.
- Overtightening hardware in the heat. Metal expands when hot. If you tighten every bolt on the track and hinge while it’s 100 degrees outside, you’re setting the hardware too tight for when it cools down. The metal contracts, and now the bolts are over-torqued, which can crack brackets or score the roller stems. Tighten hardware in the morning before the day heats up, and back off any bolt that turns hard.
- Ignoring the weatherstripping until it’s a problem. Sylmar’s dry heat bakes rubber and vinyl. The bottom seal and side weatherstripping crack and shrink, letting dust and hot air into the garage. Replacing a bottom seal is a legitimate DIY task, but you need to know the correct profile for your door brand. A Clopay door and an Amarr door don’t necessarily take the same seal, and a generic seal from the big box store often leaves gaps. Match the seal to the door brand, or ask us to supply the right one.
Heat accelerates spring fatigue. The constant cycling between hot days and cooler nights causes micro-fractures in spring steel over time. A spring that’s rated for 10,000 cycles might reach its limit faster in Sylmar than in a milder climate. When it finally snaps, it’s not because the door was used “wrong.” It’s physics and time.
How to Prep Before a Service Call
When you do need a professional, here’s how to make the service call shorter, cheaper, and more accurate. The prep work takes fifteen minutes and it’s all homeowner-safe.
- Photograph the problem. Take clear photos of the spring shaft, the cables, the rollers, and the opener unit. If a part is broken, get a close-up. These photos let us identify the door brand and spring configuration before we arrive, which means we bring the right parts on the first visit.
- Find the model number on the opener. The opener’s model and serial number are on a sticker on the motor unit, usually on the right or back side. Write it down or photograph it. For smart openers, note the brand (Chamberlain, Genie, etc.) and whether it’s belt or chain drive. This tells us which circuit board and remote system we’re working with before we even open the cover.
- Measure the door. Width and height, in feet and inches. A standard single door is 8×7 or 9×7. A standard double is 16×7 or 18×7. This matters for spring sizing and cable replacement, and it helps us know if you have a non-standard door that needs special-order parts.
- Note the door’s material and approximate age. Is it steel, wood, or fiberglass? The material changes spring requirements. The age, if you know it, helps us judge whether other components are nearing replacement.
- Test what still works. Can you open the door manually? Does the opener run but not move the door? Does the wall switch work when the remote doesn’t? These answers are the fastest route to a correct diagnosis and they don’t require any tools.
One call covers the door and the opener. When we arrive, we’re already ahead because of what you’ve gathered. In our experience, a homeowner who does this prep work gets a faster diagnosis and often a lower labor bill, because we’re not spending the first half hour disassembling and probing to figure out what you already know.
Common Mistakes to Avoid
- Treating a noisy door as a lubrication problem only. If you spray grease on a door with a cracked roller or a dry bearing, you quiet it for a day and hide the real problem. Noise is a symptom. Figure out what’s worn, not just what’s loud.
- Replacing a single spring. When one torsion spring breaks, the other is at the same age and fatigue level. Replacing only the broken one means different spring rates on each side, an unbalanced door, and a second spring failure soon after. Replace springs in matched pairs, always.
- Using the opener to force a door closed when it reverses. If the door reverses on the way down and you hold the wall button to force it shut, you’re overriding the safety system that’s trying to tell you something. That something is usually misaligned sensors, a broken spring (which makes the opener work harder than it should), or an obstruction. Figure out why it reversed, don’t fight it.
- Adjusting the spring tension without a winding bar. This is the most common DIY injury we hear about. A screwdriver or a piece of all-thread in the winding cone is not a substitute for two proper steel winding bars. The tool matters because the spring’s torsion is strong enough to bend or eject a substitute tool.
- Buying a replacement part “by look” instead of by model number. A spring that looks like the old one might be a different wire size, a different inside diameter, or a different length. Those differences change the lift capacity. Always match by measurement or by door manufacturer specs, not by holding the old part up to the shelf.
- Skipping the annual professional inspection. You’d be surprised what a trained eye catches: a hairline crack in a spring cone, a fraying cable hidden inside the track, a roller that’s about to shed its bearing. Annual inspections in Sylmar catch these before they become emergency calls, and they’re cheaper than the emergency.
When to Call a Professional
If the door won’t open or close, if a spring is visibly broken or dangling, if the cables are frayed or off the drum, or if the opener runs but the door doesn’t move, stop using the door and call a professional. These are not conditions that improve with waiting, and attempting to operate a door with a broken spring puts strain on the opener and can cause the door to come off the track. If the auto-reverse test fails, the door is a safety hazard and should be repaired before anyone parks under it again. Garage Door Repair Sylmar offers free estimates in Sylmar, and we work on the brand you already have. Call (855) 360-5967. We answer 24/7. Fast dispatch from 7am to 7pm, Sunday through Friday.
Frequently Asked Questions
A matched pair of torsion springs for a standard two-car door in Sylmar typically runs $250 to $350 installed, parts included, while a single spring replacement (which we don’t recommend) would be about half that for the part alone. The exact price depends on the door’s weight, spring wire size, and whether other components like cables or rollers need attention. Call (855) 360-5967 for an exact quote, estimates are free.
We strongly advise against it. Torsion springs and extension springs both store enough energy to cause serious injury when released suddenly, and the winding and unwinding process requires specialized bars, a precise quarter-turn count, and hands-on experience with spring tension. The cost of a professional replacement is far lower than the cost of an injury.
You can safely tighten visible bolts, clean the photo-eye lenses, test the auto-reverse feature, replace the bottom weatherstripping (with the correct profile for your door brand), and lubricate the moving parts with lithium grease and silicone spray. Anything involving springs, cables under tension, or the opener’s motor and logic board is a professional job.
Heat doesn’t break springs directly, but it accelerates the fatigue cycle. The constant expansion and contraction of spring steel between hot Sylmar days and cooler nights creates micro-fractures that grow over thousands of cycles until the spring finally snaps, usually right after the door is opened or closed one more time. It’s a wear item with a predictable lifespan, not a sudden defect.
If the opener runs but the door doesn’t move, the gear assembly or coupler has likely stripped. If the opener hums but stays silent, the capacitor may have failed. If the door reverses for no reason, the force settings or sensors may be off. A unit older than 10 years that’s failed once is often cheaper to replace than to repair, especially with a smart-home-ready unit from Chamberlain or Genie. We can diagnose it and tell you which way makes sense.
Call us. We answer 24/7, and a call outside dispatch hours is booked into the next opening, Sunday through Friday, 7am to 7pm. That means a Sunday call gets scheduled into the dispatch window as soon as a technician is available, not after a long delay. Call (855) 360-5967 and we’ll walk you through what to check while you wait.
The Bottom Line
The DIY vs professional question for garage doors has a clear answer: do the inspections and minor tightening yourself, and leave everything that stores energy or requires calibration to a trained hand. In Sylmar, heat accelerates wear, which means springs, cables, and opener components fail sooner and with less warning. The homeowner who knows the difference between a photo-eye wipe and a torsion spring winding is already safer and smarter than the one who tries both. We’ve been serving Sylmar since 2015, exclusively on garage doors and openers, and we work on the brand you already have. When you need a professional, call (855) 360-5967. The estimate is free and the price is set in writing before any work starts.
Written by the team at Garage Door Repair Sylmar, serving Sylmar since 2015.
See the difference
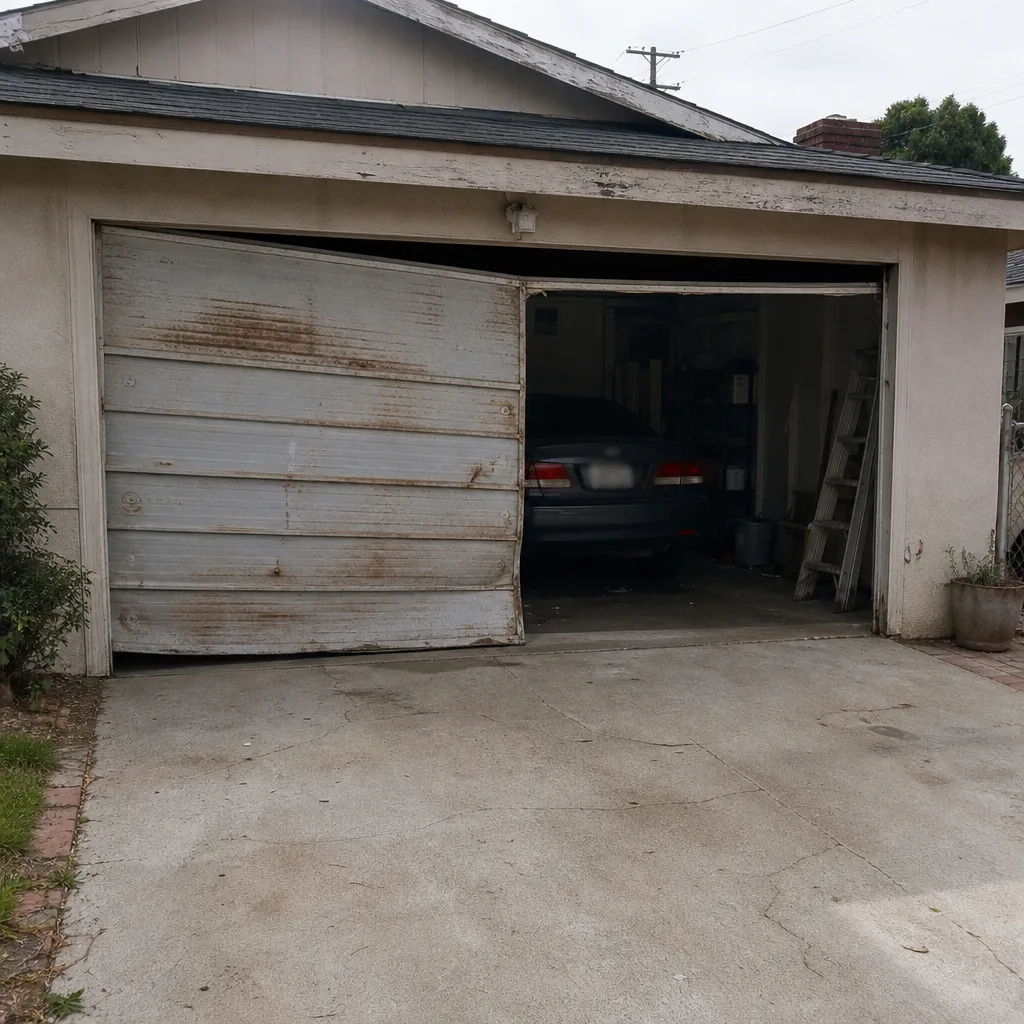 Before
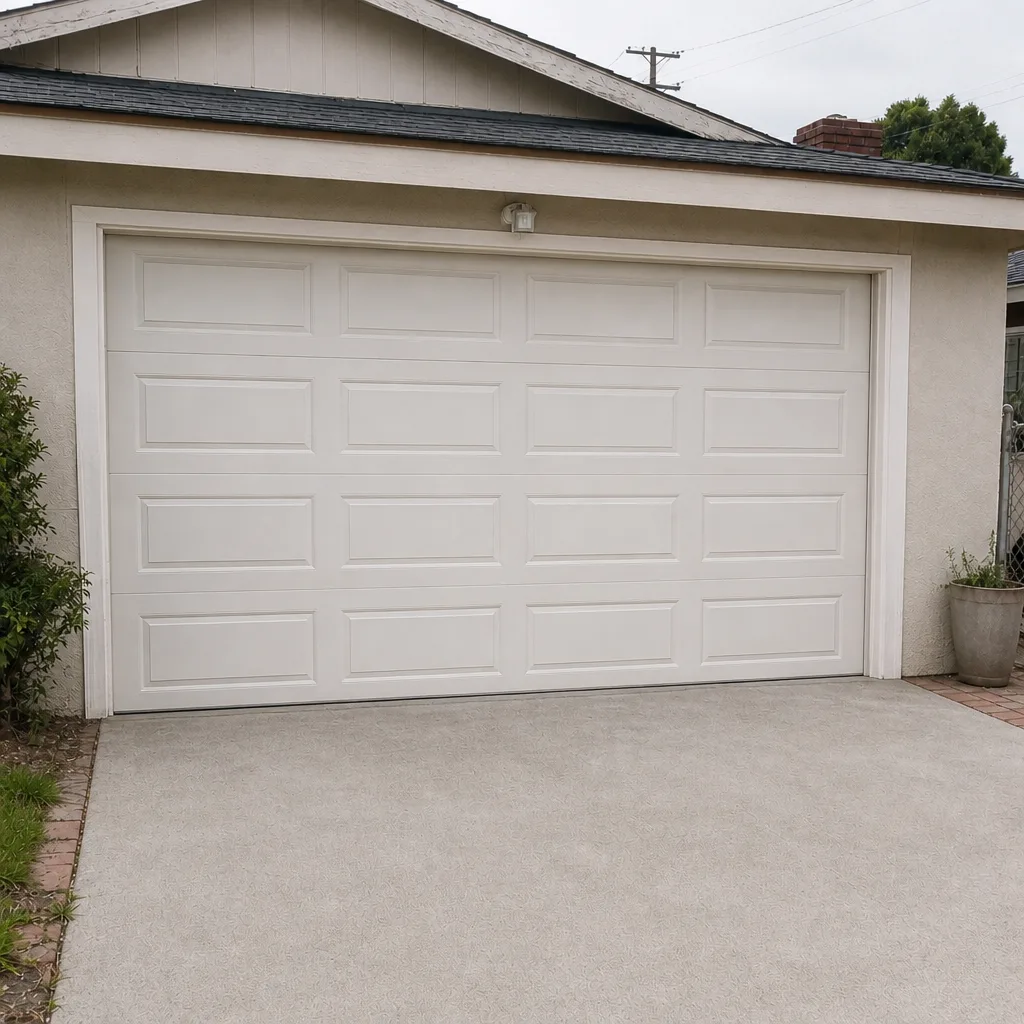 After
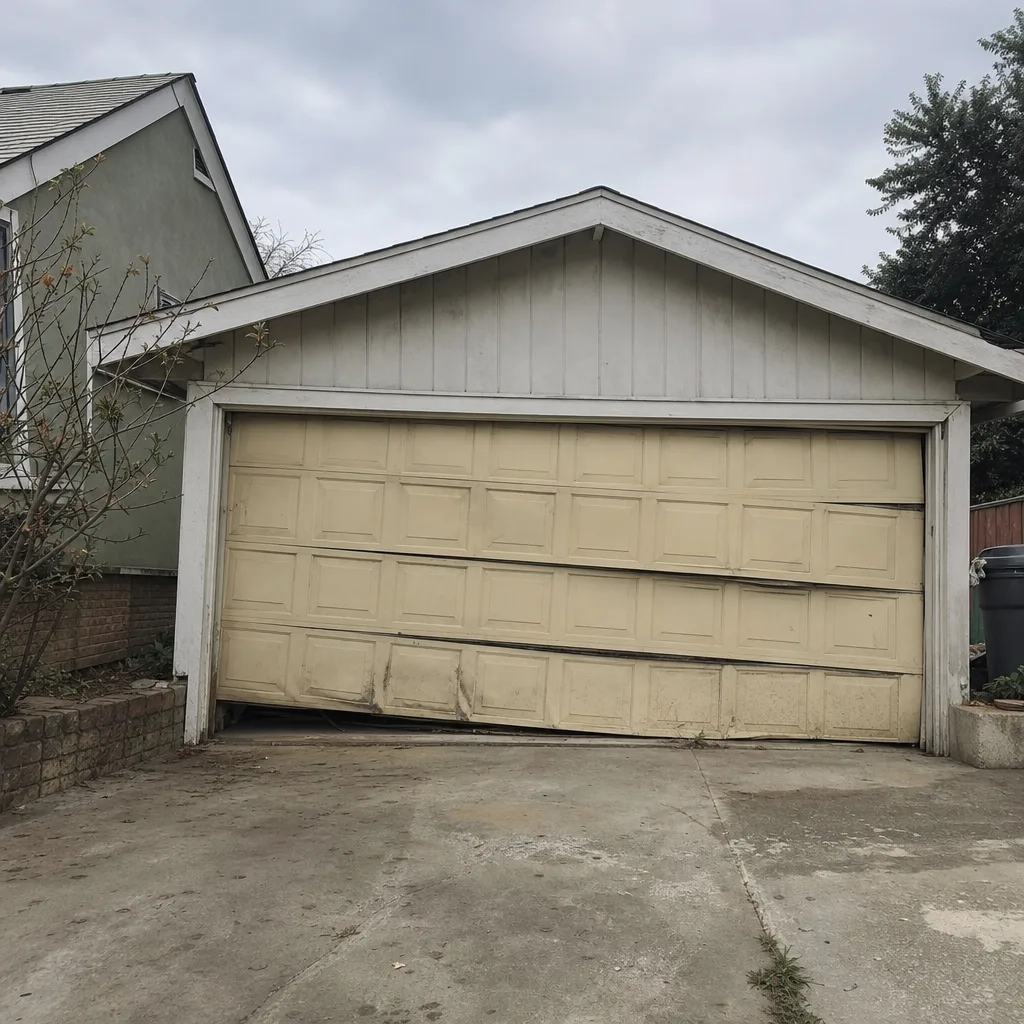 Before
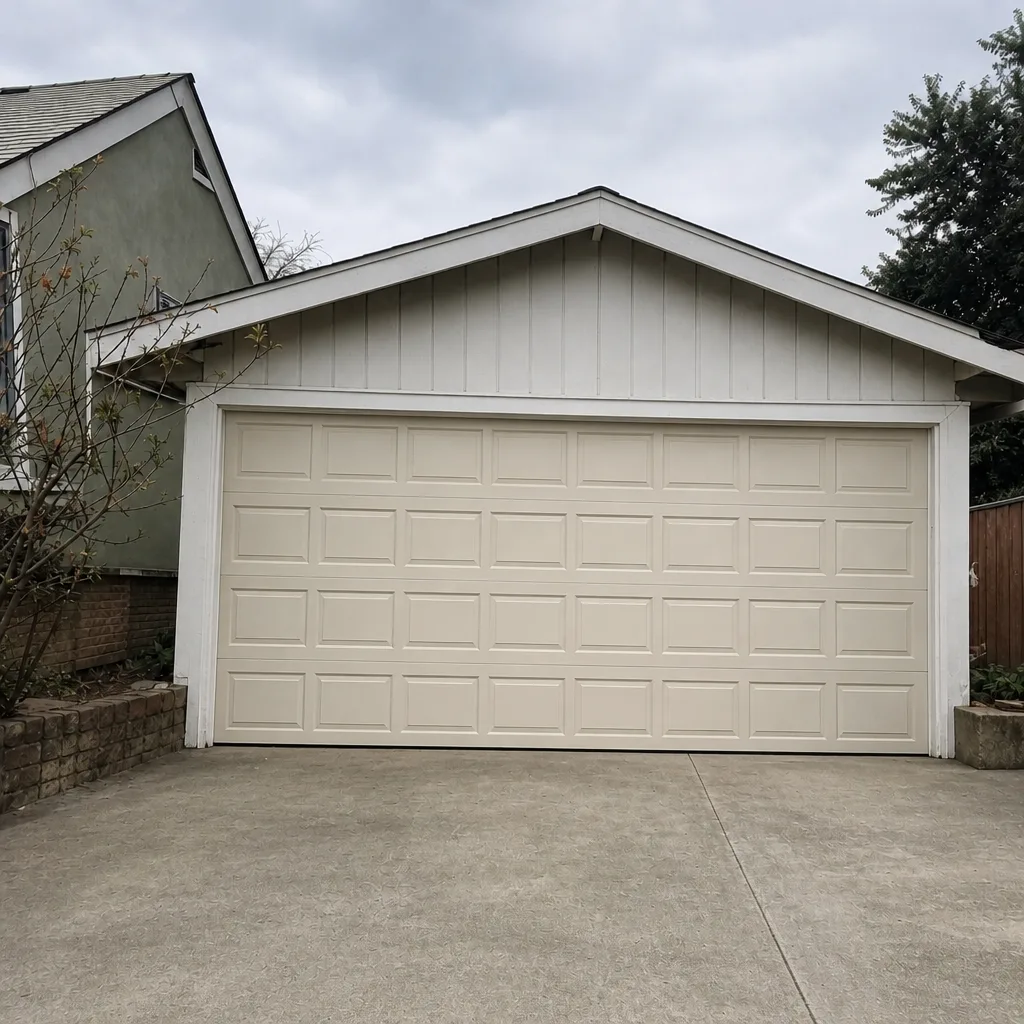 After
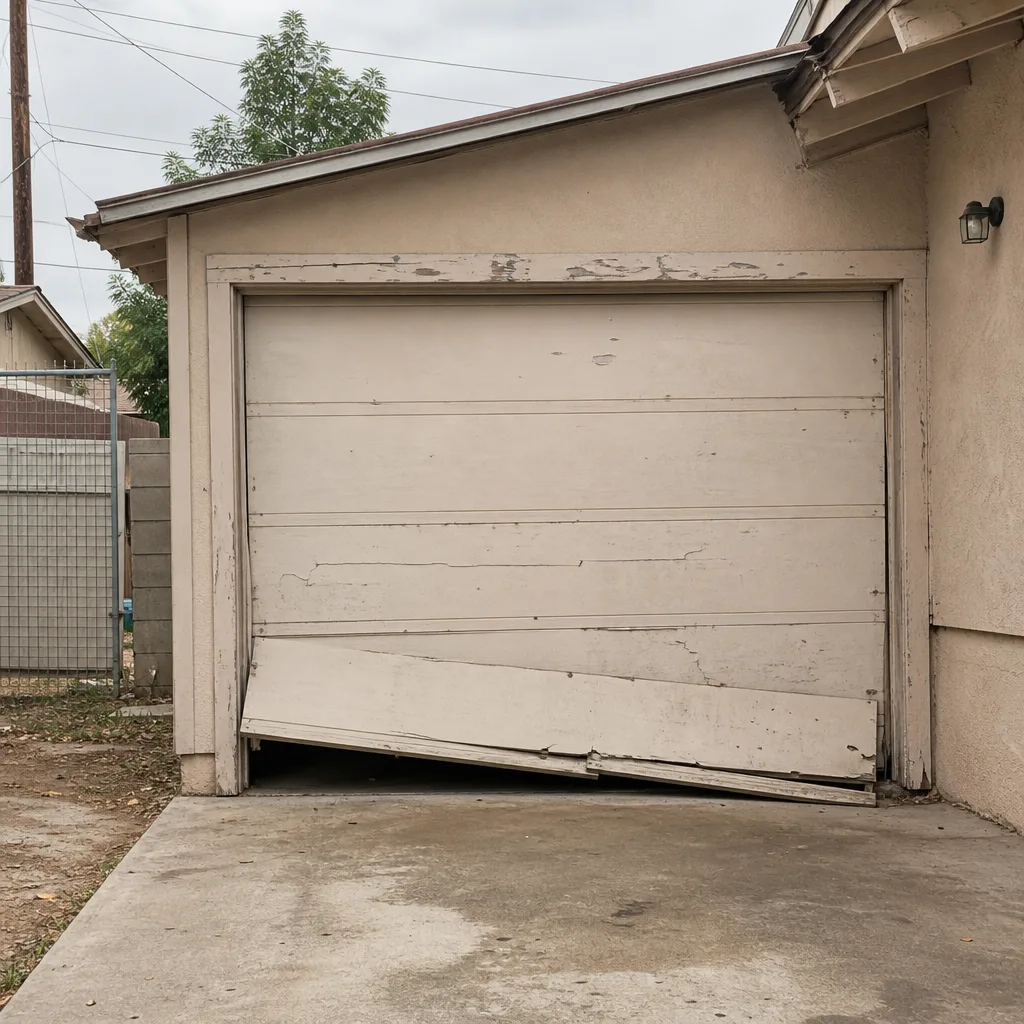 Before
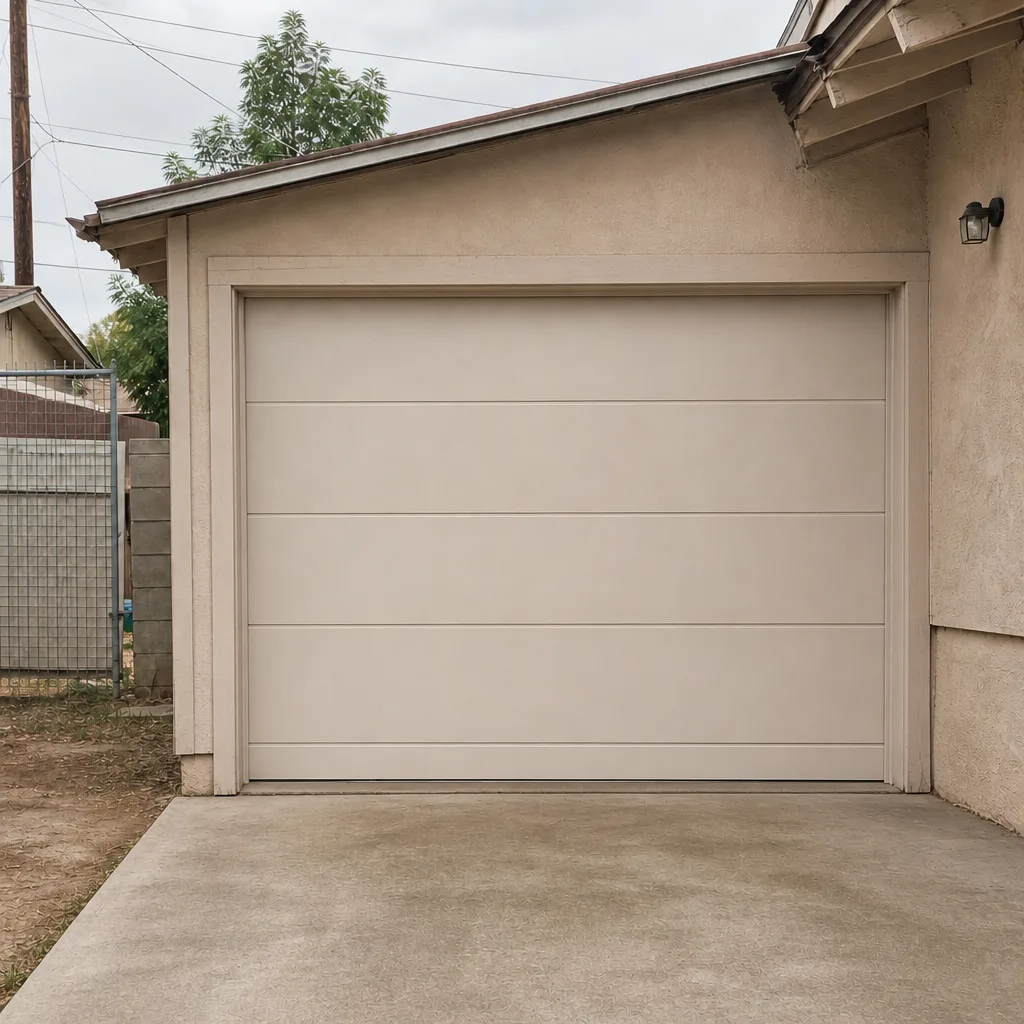 After